Try with ChatGPT← Back
Send paper mail from ChatGPT in two minutes.
Add the PaperAgent plugin once. After that, sending a letter is just asking.
Needs a signed-in ChatGPT account. Work and school workspaces may need an admin to allow plugins.
- 01ADD
Add PaperAgent to ChatGPT
Open PaperAgent in ChatGPT and click Install plugin.
Add to ChatGPT (opens in a new tab)
Click Install plugin. - 02SIGN IN
Sign in with your email
ChatGPT opens the PaperAgent sign-in. Enter your email, then the 6-digit code we send you.
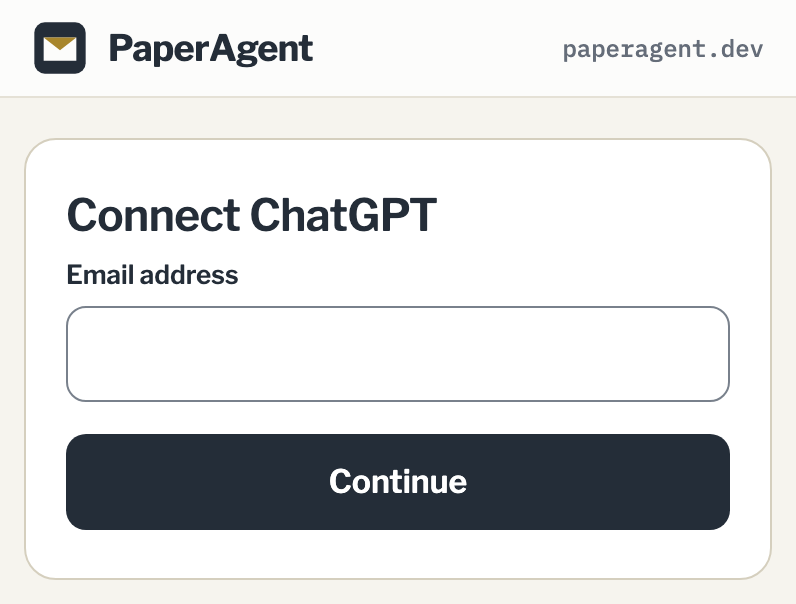
Your email, then the code from your inbox. - 03START
Start your letter
In a new chat, type @PaperAgent and pick it, then say what to mail. Still on the plugin page? Click Try in chat.
Open ChatGPT (opens in a new tab)Typing @PaperAgent in ChatGPT turns it into the PaperAgent chip; then type what to mail and press send.Type @PaperAgent, then what to mail.
 PaperAgent
That’s it — PaperAgent takes it from here.
One plugin, one sign-in, and your first letter goes out within one business day.
Using another MCP client? Its address is https://paperagent.dev/mcp
The manual setup, with developer mode, is at /connect/chatgpt. The tools, what each one costs you and what it refuses, are on the docs page.